Naruto, a globally popular anime and manga series created by Masashi Kishimoto, has left an indelible mark on the hearts of fans. The unique art style, dynamic characters, and intense storylines have inspired countless artists to try their hand at bringing these characters to life on paper. “Drawing:e-ranfoe59s= Naruto” is an exploration into mastering the techniques required to draw Naruto characters, focusing on capturing their unique essence and energy. Whether you’re a novice or an experienced artist, this guide from Mating Press will help you understand the core elements of drawing Naruto characters, from basic sketches to advanced techniques.
Understanding the Basics of “Drawing:e-ranfoe59s= Naruto”
The journey of “Drawing:e-ranfoe59s= Naruto” begins with understanding the foundational aspects of the Naruto series’ art style. Naruto characters are known for their distinctive traits such as unique hairstyles, facial markings like Naruto’s whisker-like scars, and elaborate costumes that reflect their personalities and roles in the story. To successfully draw Naruto characters, you must grasp these visual cues and translate them into your artwork.
Key Features to Recognize
When “Drawing:e-ranfoe59s= Naruto,” focus on these critical elements:
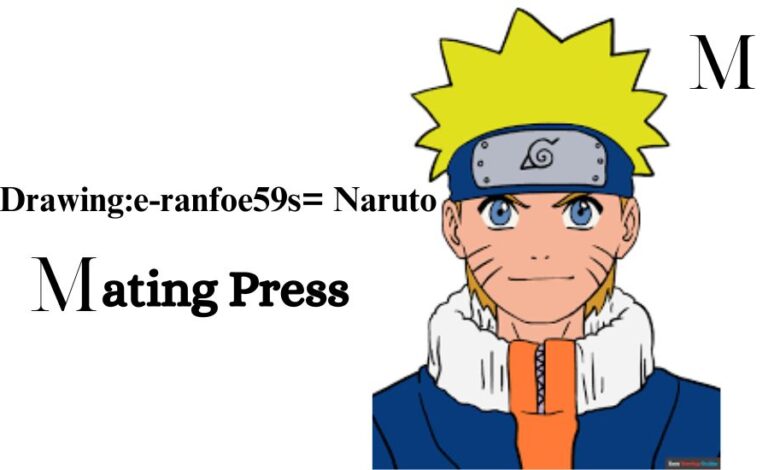
- Distinct Hairstyles: Each character’s hairstyle is a significant part of their identity, such as Naruto’s spiky blonde hair or Sasuke’s sleek, dark hair. Their hairstyles are often exaggerated, reflecting their dynamic personalities.
- Facial Marks: Many characters, including Naruto, have unique facial markings. These are essential for capturing the character’s essence.
- Costumes and Accessories: The attire of Naruto characters, like the iconic orange jumpsuit of Naruto Uzumaki, plays a vital role in defining their character and should be carefully studied and replicated.
Materials Needed for “Drawing:e-ranfoe59s= Naruto”
Before you start “Drawing:e-ranfoe59s= Naruto,” gather the right materials to ensure your artwork is of high quality. Here’s a basic list to get started:
- Pencils: Use a range of pencils (HB, 2B, 4B, etc.) to achieve different shades and textures.
- Erasers: Kneaded and standard erasers are necessary for refining details and correcting mistakes.
- Drawing Paper: High-quality drawing paper with a bit of texture helps in creating smooth, precise lines and shading.
- Inking Pens: If you plan to outline your drawing, inking pens or fineliners are essential.
- Reference Images: Keep several reference images of Naruto characters handy to guide you through the drawing process.
Step-by-Step Guide to “Drawing:e-ranfoe59s= Naruto”
To create a stunning Naruto drawing, follow these steps:
1. Start with Basic Shapes and Proportions
Begin your “Drawing:e-ranfoe59s= Naruto” journey by sketching basic shapes to form the character’s figure. For example, start with a circle for the head and use a vertical line to divide the face into symmetrical halves. Add a horizontal line halfway down the circle to place the eyes, and sketch an oval for the torso with lines for arms and legs. Keeping the proportions in mind is crucial as Naruto characters have specific body builds — generally youthful, slim, and athletic.
2. Refining the Outline
Once you have the basic shapes, refine your drawing by adding details. This step involves sketching more defined lines over your initial shapes, creating the structure of the character. Add specific features such as facial details (like Naruto’s whisker marks), hair, and distinctive elements like the Konoha headband. Pay close attention to the eyes, as they are large and expressive in Naruto characters, capturing their emotions and moods.
3. Adding Details
With the foundational outline complete, focus on enhancing your “Drawing:e-ranfoe59s= Naruto” with intricate details. Draw Naruto’s spiky hair with sharp, dynamic strands and add textures to the clothing, including folds and creases to give the character’s outfit a realistic feel. This stage is also where you include accessories, such as weapons or tools that the character might use.
Shading and Texturing in “Drawing:e-ranfoe59s= Naruto”
Shading adds depth and realism to your drawings, making them more lifelike. Here are some shading techniques to consider:
Basic Shading Techniques
- Light Source: Determine where your light source is coming from in your drawing. This will guide where to place highlights and shadows.
- Shadows: Add shadows to emphasize the contours of the character’s face and body.
- Gradients: Use gradients to create smooth transitions between light and dark areas, adding dimension to the drawing.
Texturing Hair and Clothes
To bring more realism to your “Drawing:e-ranfoe59s= Naruto,” focus on the textures of hair and clothing:
- Hair: Use short, sharp strokes for spiky hair or longer, flowing lines for smooth hair.
- Clothing: Draw folds and creases carefully, observing how the fabric drapes over the character’s body and moves with their poses.
Advanced Techniques for “Drawing:e-ranfoe59s= Naruto”
For those looking to take their Naruto drawings to the next level, consider these advanced techniques:
Experiment with Dynamic Poses
Dynamic poses bring Naruto characters to life, capturing their energy and action. Practice drawing characters in various action poses, such as running, jumping, or battling. Pay attention to the direction of movement and how it affects the positioning of limbs and clothing.
Try Digital Drawing
Digital tools offer more control and flexibility for artists looking to refine their techniques. Invest in a drawing tablet and learn software like Photoshop or Procreate, which allows for layering, easy corrections, and advanced coloring methods.
Tips for Improvement in “Drawing:e-ranfoe59s= Naruto”
- Regular Practice: Consistency is key to mastering any skill. Dedicate time each day to practice drawing Naruto characters.
- Study the Source Material: Analyzing official Naruto artwork and manga panels helps you better understand the character designs and the nuances of their expressions.
- Use References: Having reference images available while drawing helps ensure accuracy in proportions, details, and overall representation.
- Seek Feedback: Join art communities online and share your work to receive constructive criticism that can help you improve.
Conclusion: Embracing the Art of “Drawing:e-ranfoe59s= Naruto”
Mastering “Drawing:e-ranfoe59s= Naruto” is a journey of creativity and patience. By understanding the unique features of Naruto characters, using the right tools, and practicing regularly, you can create stunning artworks that capture the essence of this beloved series. Remember, the key to success is practice and persistence. Let your creativity flow, and enjoy the process of bringing Naruto’s world to life through your art.
Mating Press encourages artists of all levels to embark on this artistic journey, embracing both the challenges and joys of drawing Naruto characters. Happy drawing!