First and foremost, a mosquito net is essential for protection against annoying mosquitoes. However, it also prevents rodents and birds from entering the house. The net blocks large dust particles, leaves, and also diffuses bright sunlight on a hot day. In this article, we will take a closer look at the functions of a mosquito net, how to install it on a window from the outside or inside, and what measurements need to be taken beforehand.
About the Advantages:
- Protection from insects. During the warmer months, flies, mosquitoes, wasps, and midges become particularly bothersome. The net shields you from their bites and buzzing at night.
- Fresh air. You don’t need to close the windows when swarms of insects appear outside.
- Easy installation and maintenance. No special skills or a lot of time are required. It can be mounted on windows of any size.
- Protection from outdoor debris and dust. This feature helps keep your home clean and reduces the risk of allergies.
- Safety for children and pets. At home, no one is at risk of painful insect bites, which can carry diseases. The material does not emit toxic fumes that harm health. The net also prevents pets from falling out of windows.
- Durability. The average lifespan of the material is 10 years. It withstands temperature changes, high humidity, and strong winds.
- Affordable price. This is important considering that most homes have multiple windows, requiring a lot of material.
How to Properly Measure and Install a Mosquito Net?
Before attaching a mosquito net to the window, it’s necessary to prepare appropriately sized material. During the measuring process, you should:
- Fully open the window sash and have a tape measure ready.
- Measure the width of the opening. Measurements should be taken along the plastic edge from one seal to the other.
- Repeat the measurements in several places, then record the results. Do not round off the values. If you’re not sure about the accuracy to 1 mm, round down.
- Measure the height of the opening, again along the plastic edge from seal to seal.
- Repeat the measurements in several spots and record the results.
Afterward, compare your measurements with the dimensions of the insect net (trans. from Latv “insektu sieti”) available on the website. Tehaudumi offers materials made from fiberglass and around 3,000 other technical fabrics. The company has been specializing in supplying such fabrics to businesses and individuals since 1996.
How to Properly Install a Mosquito Net on a Window?
The installation process may vary depending on the chosen fasteners, but in general, the basic principle of attaching the nets to windows remains the same:
- Window measurements. Accurately measure the window opening to choose the appropriate net.
- Preparing the fasteners. Install the fastening elements on the frame. These can be hooks, bracket clips, or corner mounts. Carefully screw in the screws with a screwdriver, but avoid overtightening. Mark the intended spots for fasteners on the net. For most fasteners, the top and bottom marks should be closer to the middle, and on the sides, they should be 200-250 mm from the corner.
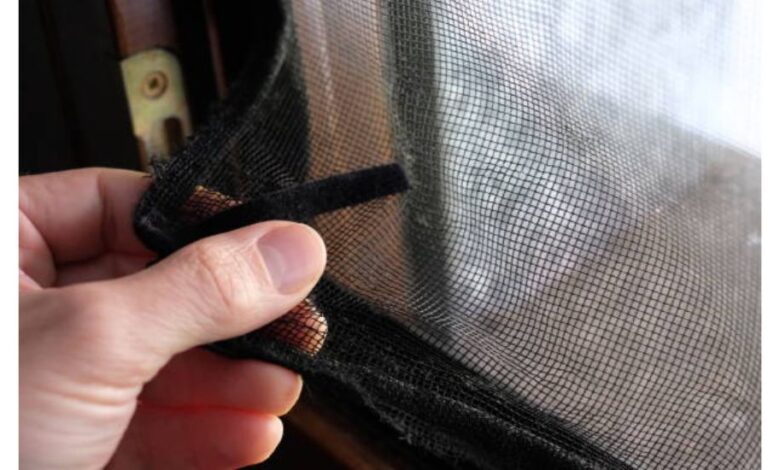
- Installation. Secure the net onto the fasteners, ensuring it fits snugly against the opening. First, insert the top part, followed by the bottom.
- Check the fixation. Make sure the net is securely held and can be easily removed if necessary. Also, check if the fasteners press against the seal. Turn them towards the frame to avoid damaging the rubber seal.
Installing a mosquito net on a window is straightforward. You can do it yourself without spending much. As a result, your home will be protected from insects, dirt, leaves, and pollen that can cause allergies.